Mara Jade - Bits and Bobs
Its been over a year since I started this costume, and several months since I got it finished. This time last year I was spraying chrome paint all over my in-laws front doorstep and the back piece I made for Mara so I figured it was time to put together some build posts about this costume.
Mara Jade is probably my favorite female from the Star Wars universe. Growing up, there wasn't much choice. It was Leia or... Leia. I eventually found the Expanded Universe and fell in love with Mara's sarcastic, strong character.
 Actually, a lot of this costume came together very quickly.
For her wig I got a Ferrari in Pumpkin from Arda Wigs, and paired that with coloured contacts. Her gloves were actually some of the first gloves I ever made earlier this year, and at the same time I made the hood to match. Her goggles were one of three I purchased from eBay, with the winning pair being a snowboarding set that I got for half nothing.
The first thing I did was tackle her back piece. This was my first foray with Worbla, which I've decided has to be one of my new favourite things. I'm not going to go into how you use Worbla, as that's been covered by a number of people, most comprehensibly by Kamui Cosplay who has a number of tutorials that are excellent.
This was actually the first piece I did as I wasn't sure how Worbla worked. The answer was "very well" and I basically used it to cover shaped pieces of foam.

The back piece I sketched out on paper and then built with foam. I wanted it to have some oomph, as I didn't like the really flat versions that I'd seen.

I smoothed down the larger foam which had a heavy pattern, and then dremeled down the sections that stuck out so that you'd get the difference in height. I dremeled the edges as well so that it was less severe edges.

I built the centre part with craft foam on top and then covered everything with Worbla. This being the first thing I'd ever done with Worbla, I was shocked at how easy it was to put together.

Then I added spare bits of Worbla to form the "screws" on each tab, and began the process of covering it all in gesso and sanding it down.

I found a fabulous chrome spray paint that actually made it brighter and newer looking than I really wanted, so I took some brown and black paints to it to tone it down.

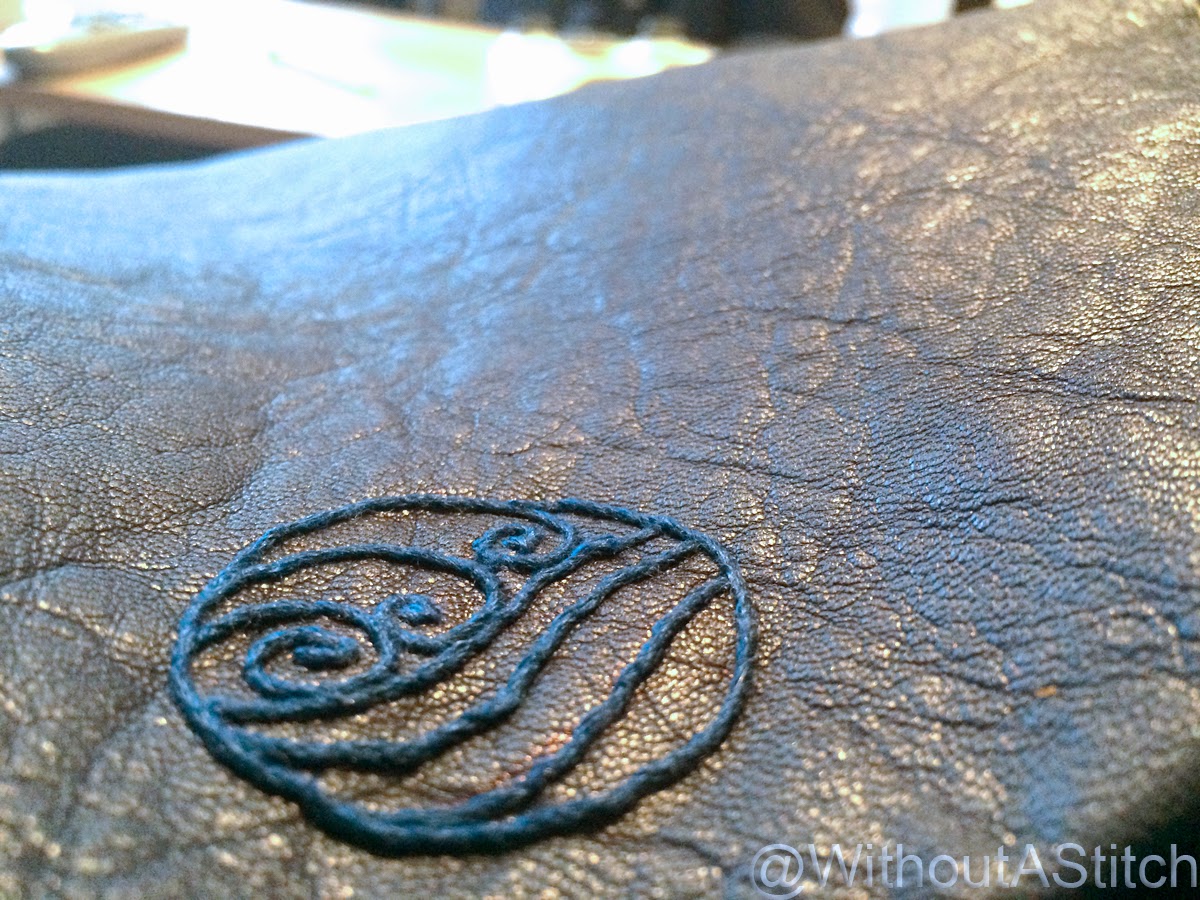
I also had fun playing with leathers in order to finish this. I ordered veg-tan leather and dye for the various straps and belts. First I soaked the leather and shaped it so that the straps would lie closer to my body shape.

This basically meant clipping it all together as it would end up and wearing it around the house until they dried. Then I dyed them with leather dye and polished them with a sheen. Word to the wise- don't forget to dye the edges of your leather. It looks very silly otherwise.

For the shoulder straps, because my back piece was foam based, I was able to cut channels in the foam and link all of the ends of the leather together with wire so it is nice and secure. While not pictured, I covered the back of it with black felt so that it wouldn't rub against the bodysuit and damage the fabric.

The belt took a little more doing, but once I caved in and used contact cement, it worked really well. I'd been wanting Barge cement since that is something that everyone seems to rave about, but it appears nigh on impossible to find here in Ireland.
I hit up my local hardware store and found this:

This is also contact cement, and it works very, very, VERY well. It works on the foam, it works on leather. I haven't found something it doesn't work on yet. I actually have a hard time understanding how it works so well, but suffice to say that things are not going to be falling apart any time soon. I usually try to avoid glue at all costs as I worry about lasting power, but this stuff is amazing.
Next up was her knee pads and shin guards, which I made at the same time, so I'll do those together in their own post.
Mara Jade is probably my favorite female from the Star Wars universe. Growing up, there wasn't much choice. It was Leia or... Leia. I eventually found the Expanded Universe and fell in love with Mara's sarcastic, strong character.

For her wig I got a Ferrari in Pumpkin from Arda Wigs, and paired that with coloured contacts. Her gloves were actually some of the first gloves I ever made earlier this year, and at the same time I made the hood to match. Her goggles were one of three I purchased from eBay, with the winning pair being a snowboarding set that I got for half nothing.
The first thing I did was tackle her back piece. This was my first foray with Worbla, which I've decided has to be one of my new favourite things. I'm not going to go into how you use Worbla, as that's been covered by a number of people, most comprehensibly by Kamui Cosplay who has a number of tutorials that are excellent.
This was actually the first piece I did as I wasn't sure how Worbla worked. The answer was "very well" and I basically used it to cover shaped pieces of foam.

The back piece I sketched out on paper and then built with foam. I wanted it to have some oomph, as I didn't like the really flat versions that I'd seen.

I smoothed down the larger foam which had a heavy pattern, and then dremeled down the sections that stuck out so that you'd get the difference in height. I dremeled the edges as well so that it was less severe edges.

I built the centre part with craft foam on top and then covered everything with Worbla. This being the first thing I'd ever done with Worbla, I was shocked at how easy it was to put together.

Then I added spare bits of Worbla to form the "screws" on each tab, and began the process of covering it all in gesso and sanding it down.

I found a fabulous chrome spray paint that actually made it brighter and newer looking than I really wanted, so I took some brown and black paints to it to tone it down.

I also had fun playing with leathers in order to finish this. I ordered veg-tan leather and dye for the various straps and belts. First I soaked the leather and shaped it so that the straps would lie closer to my body shape.


For the shoulder straps, because my back piece was foam based, I was able to cut channels in the foam and link all of the ends of the leather together with wire so it is nice and secure. While not pictured, I covered the back of it with black felt so that it wouldn't rub against the bodysuit and damage the fabric.

The belt took a little more doing, but once I caved in and used contact cement, it worked really well. I'd been wanting Barge cement since that is something that everyone seems to rave about, but it appears nigh on impossible to find here in Ireland.
I hit up my local hardware store and found this:

This is also contact cement, and it works very, very, VERY well. It works on the foam, it works on leather. I haven't found something it doesn't work on yet. I actually have a hard time understanding how it works so well, but suffice to say that things are not going to be falling apart any time soon. I usually try to avoid glue at all costs as I worry about lasting power, but this stuff is amazing.
Next up was her knee pads and shin guards, which I made at the same time, so I'll do those together in their own post.

Comments
Post a Comment